7 Top Tips for Applying Wood Stain

Wood stains are designed to bring out the best in the wood, in particular, the woodworker’s skill in building with the wood. Paint, on the other hand, is often used to cover up blemishes or less than ideal woods on a project.
Does that mean that paint is always bad and stain is always good? Not at all. Just as a general rule, it takes more time and patience to build a project that will be stained than one that will be painted.
Of course, your choice in wood will likely be determined by the type of finish you want to apply. For instance, I doubt many in their right minds would go to the trouble to build a project out of oak or maple, woods that look great stained and are too costly to use on a painted project. Conversely, I don’t think we’d see a whole lot of stained poplar woodworking projects, as poplar doesn’t have the type of grain or color that is conducive to wood stain.
So, with that in mind, what are the keys to a applying a really great wood stain finish?
Quality Workmanship:
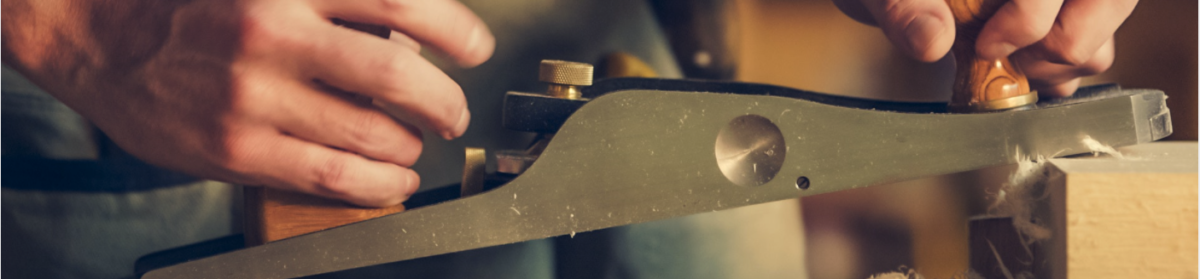
This is one of those, “it goes without saying, that’s why I’m going to say it” statements, but the first key to a great wood stain finish is to make sure that the project to be stained is one that you would really like to show off. In other words, if you’re building a large cedar-lined blanket chest with full through dovetails on each corner, you likely wouldn’t be to eager to show it off if the dovetails didn’t line up properly (or had gaps), or if there were glue run-out on the joints that would prohibit the stain from soaking into the wood evenly, causing what would be a blotchy finish.
No, if this were the case, I’m sure you’d probably paint the project.
So, assuming that we know you will take the time and build a great project, what’s next?
Sanding:
The first step to a great wood stain finish that would truly show off your woodworking prowess is to sand the project thoroughly. You can decide whether you want to use a sanding block or a random orbital sander to do the lion’s share of the work.
Either way, one of the keys to sanding a project well is to sand it well a few times, using progressively finer grits of sandpaper as you go. Then, when you’re done, it is always wise to finish with a hand sanding for a final touch.
How do you know when it is good enough? Do you simply feel over the sanded area with your hand? Or is there a better way?
This tip is probably easier to accomplish for ladies (or, to a lesser extent, for guys who are married). One great way to know if you have sanded enough is to place an old nylon stocking over your hand and rub it all over the project. If the nylon stocking snags on any portion of the sanded area, you’ve got more sanding to do. If you can wipe your nylon stocking-laden hand over the entire project and it looks as good as new, then you are free to move on to the next step.
Removing the Sanding Residue:
After you have sanded the project thoroughly, the next step is to get rid of all of the sanding residue. Start by vacuuming the project with as best you can with a wood shop vacuum.
Put the brush attachment on the end so that you don’t scratch your sanding job with a plastic vacuum tool or hose end.
Then, after vacuuming, go over the entire project once or twice with a tack cloth. This should get about as much of the loose sawdust as one could expect to remove.
Preparing for Stain:
Before you apply the stain to the bare wood, I find it helpful to give the areas that will be stained a coat of pre-stain conditioner. Think of a pre-stain conditioner much like you would a primer before painting. It will simply prepare the wood for staining and even out the color once the stain has been applied.
A couple of caveats: First of all, read the instructions before you apply the pre-stain conditioner. In some cases, the manufacturer advises that you wipe the conditioner off after a few minutes, and then apply the stain within two hours. So you may have to plan your time accordingly. Additionally, some pre-stain conditioners have a tendency to lighten the color of the stain, but you can combat this by applying a second coat of stain.
Type of Applicator:
Next, how should you apply the stain? Should you use a brush, a clean rag, or a foam pad?
Well, that depends on the type of stain. If you’re going to use a gel stain, you’ll want to apply it with a rag and wipe it down once the desired color is reached.
In the case of oil-based stains, you’ll want to choose a natural bristle brush, whereas a water-based stain would be best applied using a synthetic brush. No matter which type of brush you use, you need to take care of your brush. If you’re going to spend the money to buy a good brush, keep it clean and it will reward you with better finishes and will last longer.
Can We Stain Now?:
Oh, all right! Since you now have the project well-sanded, have cleaned it and prepped it well, it’s time to apply stain. But what type of stain? Do you want to use oil-based or water-based? What about an all-in-one that includes polyurethane in one step so you don’t have to apply separate protective coats after the fact? And what color should you choose?
Frankly, at this point, you’re down to personal preference. The best way to answer these questions is trial and error, and your own particular tastes. In other words, keep a few scraps around on which to test a few oil and water-based stains, and even an all-in-one.
Personally, I prefer oil-based stains, as I like the rich color that they provide and the longer working times than water-based stains. The advantage of water-based versions is that they dry fast and don’t have the overpowering odor of oil-based stains (not to mention easier clean-up), but they have a tendency to raise the grain of the wood, which means more sanding after applying the stain.
Either way, if you have tested a few on scraps of wood that have been well-sanded and had the pre-stain conditioner applied, you’ll have a representative sample of what your final stain should look like.
Protecting Your Stain:
After staining the project with the color and type of wood stain you like best, the last step is to apply a protectant. Personally, I almost always finish a stained project with a few coats of polyurethane. Since I prefer the oil-based stains, I’ll follow-up with a few coats of oil-based poly, with a light 220-grit sanding and a wipe down in-between thin coats.
Of course, if you used a water-based stain, you may want to stick with a water-based polyurethane. Just be sure to read the instructions on the can before applying with a quality brush, and for goodness sake, do not shake the can before applying polyurethane (as this introduces bubbles that will totally mar your surface).
Here’s what you can expect:
- Instant access to 16,000 wood plans with step-by-step details, photos, materials lists!
- Highly detailed images, materials & cutting lists
- Very easy to follow
- Lifetime membership access – No renewals, recurring fees or other charges
- 60 days money back guarantee
Amazing free bonuses:
- DWG & CAD Plan Viewer ( $197 Value )
- 150 Premium Woodworking Videos ( $77 Value )
- How To Start Woodworking Business ( $27 Value )
- Complete Woodworking Guides ( $39 Value )
